Showing posts with label table decorations. Show all posts

Tuesday, May 21, 2013

Making Luncheon Napkins

Ever wanted some new napkins to set an elegant table?  Having an intimate dinner party? Trying to teach the kids to know how to behave at a dinner engagement?  Then, new napkins might be just what you need.


I have several sets of napkins for different occasions.  I love using them at Christmas gatherings, and just for fun, sometimes!  But cloth napkins can be expensive, if you don't find them on sale; and finding the right color for your table setting can be challenging. Why not make your own!

I recently had an order for some special Anniversary napkins from a wholesale client.  They are easy to make so I thought I would chronicle the process here for a tutorial.

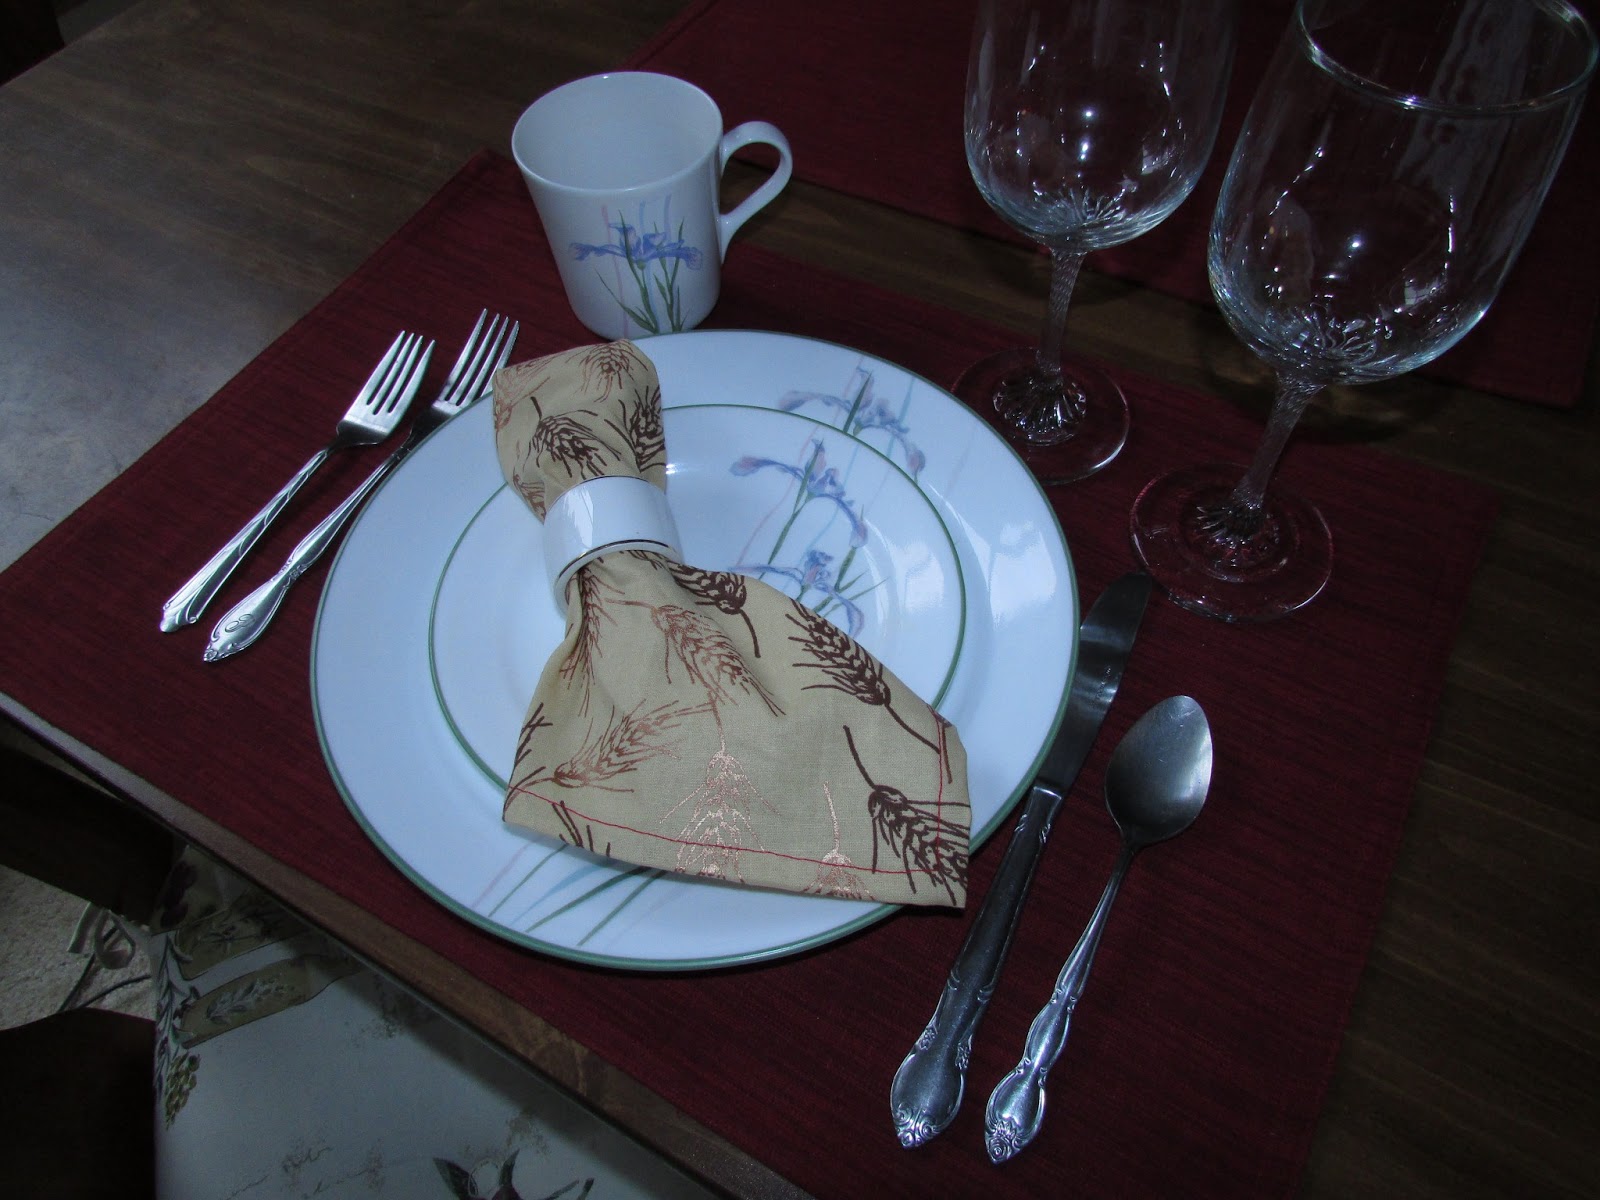
Chose your favorite fabric; my client chose this wheat motif fabric. Cut your fabric squares accounting for and adding a half inch seam allowance on each side.


I used a rolled hem, folding over 1/4 inch (or less) and then another 1/4 inch again to sew the seam.  Start in the middle of a side, not at a corner, since it will be easier to turn the corners that way. Some of you may have an attachment for this type of seam.


Stop sewing about two inches before getting to the corner;  Keep the fabric rolled . . . .


then fold the corner in, at a right angle, approximately 1/2 inch fold over.  


Next, fold the next side up 1/4 inch, holding the corner securely.


Last, fold over another 1/4 inch and you should end up with a mitered corner . . . . .


these are sometimes hard to master, but you will get proficient with repeated efforts. (I promise.)


Final step: press and fold.  Here you see mine packaged for my client with a paper band around them.


And . . . . if you have a serger, you might want to just serge the edges with a fancy thread, it might be easier, and surely decorative!  Or use your imagination with your machine's fancy stitches for your edging seam!  Whatever you do, have fun being creative!


Friday, December 21, 2012

Have Cone Shaped Styrofoam?

Have a styrofoam cone in your craft supplies?
Need a table decoration?

And here are a few ideas from fellow bloggers. Please visit and leave a comment if you love their ideas!

Priscilla gives instructions on her blog for this blue tree.  Her blog is thriftycraftygirl . Or she has this same tree available in her shop for sale.


Here's a paper tree by Liz Qualman.  On the blog, Two Peas in a Bucket,  there is a  link to the instructions.

from two peas in a bucket here

It's Friday and time for linking with your own ideas!  Recipes, decorations, anything Christmasy!  Be sure to visit the other participants!!  Thanks!


Wednesday, December 12, 2012

Dress It Up!

I love chocolate covered cherries!  Available only at Christmas time, mostly!  I have even made them from scratch; well, bought cherries with the stems attached, chocolate for dipping and made my own fondant filling, some with rum!  But I won't go into that now.  


For today, I want to share a couple of ideas to dress up the ones that you can get quickly and inexpensively at the market.

I usually eat them straight out of the box,  hee hee!

But with just a little effort, you can make a show of them for you and your guests!  Get a lovely plate--this one is a vintage Franciscan Desert Rose candy dish, footed and with a long handle.  Add some fancy paper cups--these are foil, but you can get those with Christmas designs on them.  Place the candies in the cups, add other treats around and there you have it!  Don't forget to garnish the plate with a maraschino cherry and a sprig of mint or parsley for color!


Then there is another way--put the candies in a see-through container, add a fabric or ribbon bow around the rim and you're all dressed up to serve! And this idea adds a little bit of the season to your everyday counter top!


What do you do with your favorite candy to "dress it up" for the Holidays? I bet you use your own home made candies!  Share a link to your recipes and ideas, below. 

Monday, December 3, 2012

Another Centerpiece

30 Days of Christmas Fun!

My oldest granddaughter decorated our Thanksgiving tables with these wonderfully creative votives.  I don't know where she got the idea, but I think they would look awesome on a Christmas table, maybe with some greenery.  


You will need:

small fish bowls (round bowls)
twine
bag of whole cranberries
Small red votive candles
Tacky glue or Mod Podge

Cover the outside of the bowl with glue and start winding the twine around in any way that seems pleasing to you.  A final sealant layer of glue will help it stay together. (Make sure the glue will dry clear.)  Add a few cranberries and the votive and there you have it!  Easy peasy!

Have a happy, creative holiday season!