Showing posts with label tutorial. Show all posts

Tuesday, May 21, 2013

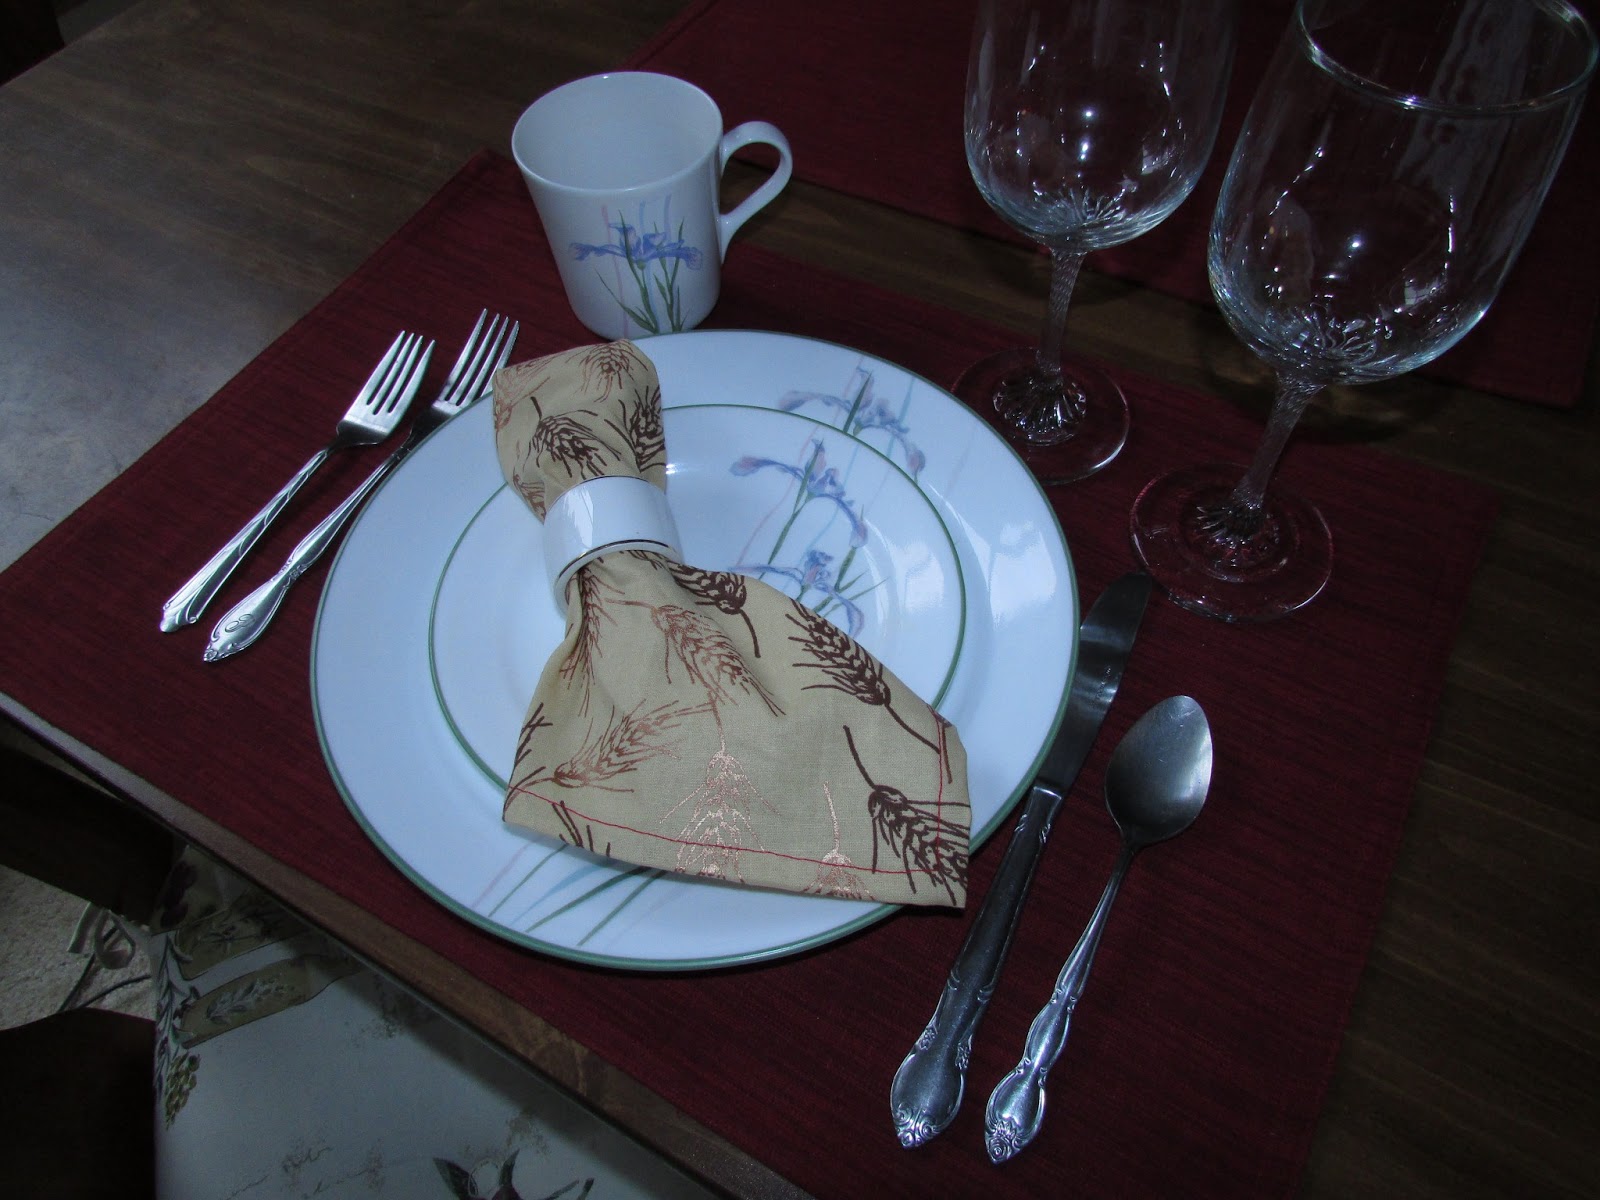
Making Luncheon Napkins

Ever wanted some new napkins to set an elegant table?  Having an intimate dinner party? Trying to teach the kids to know how to behave at a dinner engagement?  Then, new napkins might be just what you need.


I have several sets of napkins for different occasions.  I love using them at Christmas gatherings, and just for fun, sometimes!  But cloth napkins can be expensive, if you don't find them on sale; and finding the right color for your table setting can be challenging. Why not make your own!

I recently had an order for some special Anniversary napkins from a wholesale client.  They are easy to make so I thought I would chronicle the process here for a tutorial.

Chose your favorite fabric; my client chose this wheat motif fabric. Cut your fabric squares accounting for and adding a half inch seam allowance on each side.


I used a rolled hem, folding over 1/4 inch (or less) and then another 1/4 inch again to sew the seam.  Start in the middle of a side, not at a corner, since it will be easier to turn the corners that way. Some of you may have an attachment for this type of seam.


Stop sewing about two inches before getting to the corner;  Keep the fabric rolled . . . .


then fold the corner in, at a right angle, approximately 1/2 inch fold over.  


Next, fold the next side up 1/4 inch, holding the corner securely.


Last, fold over another 1/4 inch and you should end up with a mitered corner . . . . .


these are sometimes hard to master, but you will get proficient with repeated efforts. (I promise.)


Final step: press and fold.  Here you see mine packaged for my client with a paper band around them.


And . . . . if you have a serger, you might want to just serge the edges with a fancy thread, it might be easier, and surely decorative!  Or use your imagination with your machine's fancy stitches for your edging seam!  Whatever you do, have fun being creative!


Tuesday, January 22, 2013

Free Motion Quilting

I had a few questions, yesterday, about free motion quilting.  As I said yesterday, not all my readers are quilters, so I thought I might give a little illustration about the process.


Have your friend stand next to a table and hold your  pen straight up and down in one position so the tip is on the table.  Tell her not to move her hand nor the pen -- Except for a second so you can place paper under the tip. :) Now, you move the paper to make a drawing of something simple.  It's harder than you think!  Next, imagine moving a 45 by 74 inch quilt sandwich around under that pen until you have drawn on every inch of your "large 45 by 74 inch paper".  Oh . . . and you have to manipulate your large paper, all crumpled up, under your friends arm, between  her body and the pen!!

Sewing this way takes practice!  It is not like sewing a straight line.  You can "doodle"  all you want with free motion quilting.  Here are a couple of blog sites and books that have examples and other explanations if you are interested.

Book by  Don Linn
I have this book and use it, but there are a few others that I would like to have:
Dancing with Thread by Ann Fahl
Freemotion Quilting by Judy Woodworth 

and sites that I like: 

Have a great day!

Monday, November 26, 2012

Holiday Pillow Cover


Since it is the first of the month, there is plenty of time to work on this project. Other projects to follow may not be as involved as we get closer to Christmas. Whatever you chose to do this month--have fun!


Today's project -- a cute pillow cover made from scraps of Christmas fabrics (a Pillow cover tutorial). 
 

Start with a pile of Christmas fabric scraps (and a pillow form that you already have--or purchase one at the local home/fabric store, 12" by 12" for this tutorial or adjust this pattern for any size pillow you prefer.)


Start with a square piece approximately 5 inches by 5 inches.  Applique any cute design on it using scraps of felt or fabric.  You can embellish it with buttons, floss, ribbon, anything that you have available.  I used felt, embroidery floss and a fabric scrap for this snowman's scarf.  Use your imagination and have fun!  (That's the point, right?)  No right or wrong here.  


After you are finished with your applique, use strips of fabric scraps to sew on each end, log cabin style.  If you need instruction on this process, go here -- but my pieces are not as precision as in the tutorial. I personally like a less precise crazy quilt look, so I just add strips around until I get it the size that I want. Don't worry if the strips are not long enough--patch them!  Have fun creating!

making a strip longer w/ 1/4 inch seam

patched strips

Keep sewing until the finished product is big enough to be the front cover of your pillow cover--approximately 13 by 13 inches for tutorial pillow.  


After you finish the top cover, you need to make an envelope closing for the back, from two pieces of fabric--each approximately 13 by 8 inches.    Put a hemmed seam (on each piece) on one 12 inch side.  

Place the 'log cabin patchwork pieced front', right side up on a flat surface. Imagine this piece is your patchwork piece:


Lay your two 13 by 8 inch sections--face down/right sides touching each other--over lapping the hemmed sides in the middle of the 13 by 13 square.  Square up all outside edges so you have a 13 by 13 inch square (matching all the raw sides). I have used different fabrics to help you see how to lay the fabrics.  


Sew all the way around the four sides of the 13 by 13 inch square layers making a 1/2 inch seam. Trim later if you prefer.  When finished turn inside out-through the hemmed edges) and viola!  there you have your pillow cover!  (You may want to  add a button or velcro to your envelope opening, if you prefer.)  This should make your cover 12.5 inches by 12.5 inches square, just right to go over a 12 inch square pillow form.  

Enjoy!

P.S. See you tomorrow for another quick project! Also, Grab the "30 Days of Christmas Fun" Button for your blog and spread the Fun!

Thursday, November 1, 2012

Yo Yo Tutorial

Well, for all you do-it-yourselfers, it's about time that I showed you how to make a yo yo from scratch! I know that there is a cute little tool you can buy to make them. (I bet you really don't want to part with your money for another tool that you will only use once?? :) Anyway, they are easy to make.

Use any square piece of fabric, preferably a cotton or cotton blend. Size should be from 3 1/2 inches to 5 inches square---your choice depending on the finished size you want.  (BTW, the "cute little tool" that you can buy only makes one size yo yo.)  Cut the square into a circle by using this little trick.  Fold the square in half diagonally making a triangle.    Cut off the corners using a curved motion.  Repeat for the other two corners.  Open and you should have a nice circle.  If not, adjust your cutting placement and you will get the hang of it soon.  Of course, if you have a die cut machine, you don't have to do this.  

When you have your circle, fold over a little hem measuring approximately 1/8 to 1/4 inch.


Using a heavy thread, begin sewing with a large gathering stitch (approx. 3/8 inch or so).  Make sure you have a large knot in the end of your thread.  You will need it to grab onto when you gather up the yo yo.
Note:  You  may want to click on the picture to make it large to see. My thread should really have been another color so you could see it better.  But, obviously, for the thread to not show in the finished product, it should match your fabric.   


Sew all the way around to right next to the beginning point, right next to the knot. 


Pull the knot out about an inch or two away from the fabric so you have two ends of thread.  Hold the knot and pull the other end of the thread to gather. Then use both ends to tie a secure knot close to the fabric.  You want to double tie it for security. 


After the knot is tied, clip the ends close to the fabric.  You may want to tug at the fabric all around by pinching it and pulling it into shape. This makes the gathers a little more even and there you have it--your own finished yo yo ready for crafting!!!

Thursday, May 24, 2012

Scraps, scraps, and more SCRAPS!

While working on my regular projects, I seem to accumulate lots of scraps!   I have a little wire basket on my sewing desk that I pitch all my usable scraps into. 


When it gets too full, I stuff them in a large plastic Ziploc and hide them away somewhere--in the cupboard, under the bed, anywhere!  What to do with them--When to do something with them? Recently,  I needed the space in my cramped quarters, so I started a crazy quilt top with them.  You can do it too! Anyone can do it!  No need for fussy cutting, or worrying about cutting the patchwork pieces extremely straight.  There's really no wrong or right way to do this!  And there's no pre-prep needed to plan out the quilt top!  Just let it evolve!  A fun adventure with scraps!

You can start with any piece which serves as the middle of your finished block.  Next, sew on scraps; just match a fabric piece to any side of the first piece, making sure you sew a straight stitch.  You can even use a length of fabric that is too long for the side.  Trim it where you need it to end, once you have finished the seam. You keep building, not unlike a log cabin block (tutorial here), until you have the approximate finished size of the block you want.  Then, iron it out flat, trim any seams that are unwieldy. Next, cut a finished block, discarding the uneven and odd edge cuttings that were not used if they are too small.  Toss large enough pieces back into your scarp heap if they can be used again. 


Here I used a panel scrap for a corner. It needed to be cut to fit after the seam was finished.  I only needed a little piece of the red dot fabric to make the corner.

I'll share the progressions of one block here (Started with the purple piece):

find a piece to fit your side 

I felt it was a little short, no problem!

Added another scrap to the end of my scrap!

Regardless of the side, sew a straight line stitch-- trim later.

Finished seam.

A nearly finished block.

Trimmed and ironed--ready for use!

This is a simple way to use-up (upcycle) your scraps.  I will be sure to show off the rest of the process to a finished quilt top in future posts!  Watch for it!  And . . . try this yourself! 

Tuesday, September 7, 2010

Yesteryear---French Seams and Christening


Seems as though some things about vintage culture have been lost. We are recovering some of the culture, especially the clothing, thru a keen desire of younger people to reclaim the styles and actual clothing of yesteryear. You commonly see people wearing the old clothes, and buying the old styles at thrift stores etc.


One type of vintage clothing, I fear, is a lost art. What type, you say? How about the christening gown worn by infants at the religious ceremony to be christened or baptised. They were long gowns, usually white, for either boys or girls, made for, or purchased especially for the ceremony. These were cherished for years by the entire family, and sometimes handed down from generation to generation. My husband still has his, which was bought for him by his fraternal grandmother. I fear that this tradition has been lost, because religion is cast away so easily in today's generation. Regardless of the transitions, these gowns were a work of art with all their tucked yoke sections, french seams,chambray or voile fabrics, eyelet or lace edgings, and embroidery work and ribbon.

My husband's gown, which was used by one of his daughters, is of a somewhat transparent fabric and so has a charming lightly embroidered slip made of the matching fabric. I would show it to you but my camera is still broken. I have to use the pictures that I have in my file. (For those who are interested, the following is a general tutorial of how to make a simple christening gown.)

The pattern is relatively easy with a yoke front and back pieces and a skirt front and back rectangular section. Small tucks are sewn first before the yoke is cut out. Then after cutting, the yoke pieces are sewn together at the shoulder. Edges are finished with a whip stitch and a pretty edging (lace, etc.) The tucks in the skirt are also sewn first. Embellishes of ribbon, lace, or eyelet are added after the side and back seams are sewn. Ribbon can be threaded thru the eyelet. Bottom seam is finished with desired trim. Gather the skirt section and attach to the yoke. Finish the back opening and the arm holes with a 1/4 seam, hand whipped. To finish you can add several crocheted chain loops for button holes and attach some pretty tiny round pearl buttons. Also, you can add a pastel ribbon bow to the front yoke seam for a sweet finish.

Monday, December 7, 2009

Holiday Banner HOW-TO


Make yourself a holiday banner like mine! See my previous tutorial about Paper Bag Art for the basics! http://pruitthandcrafts.blogspot.com/2009/03/spring-break-with-paper-bag-art.html

Although this was a Spring theme, it can be adapted to make a Christmas banner. Mine uses a Christmas fabric, that I cut up. I put them on the bags and added comments with puffy paint. Then I hot glued them to seam binding, tied a loop in each end of the seam binding and hung it from the finials on my curtain! Now I'm festive! You can be too! Try it! If you don't have the time, I have one available in my shop! And it is on sale!