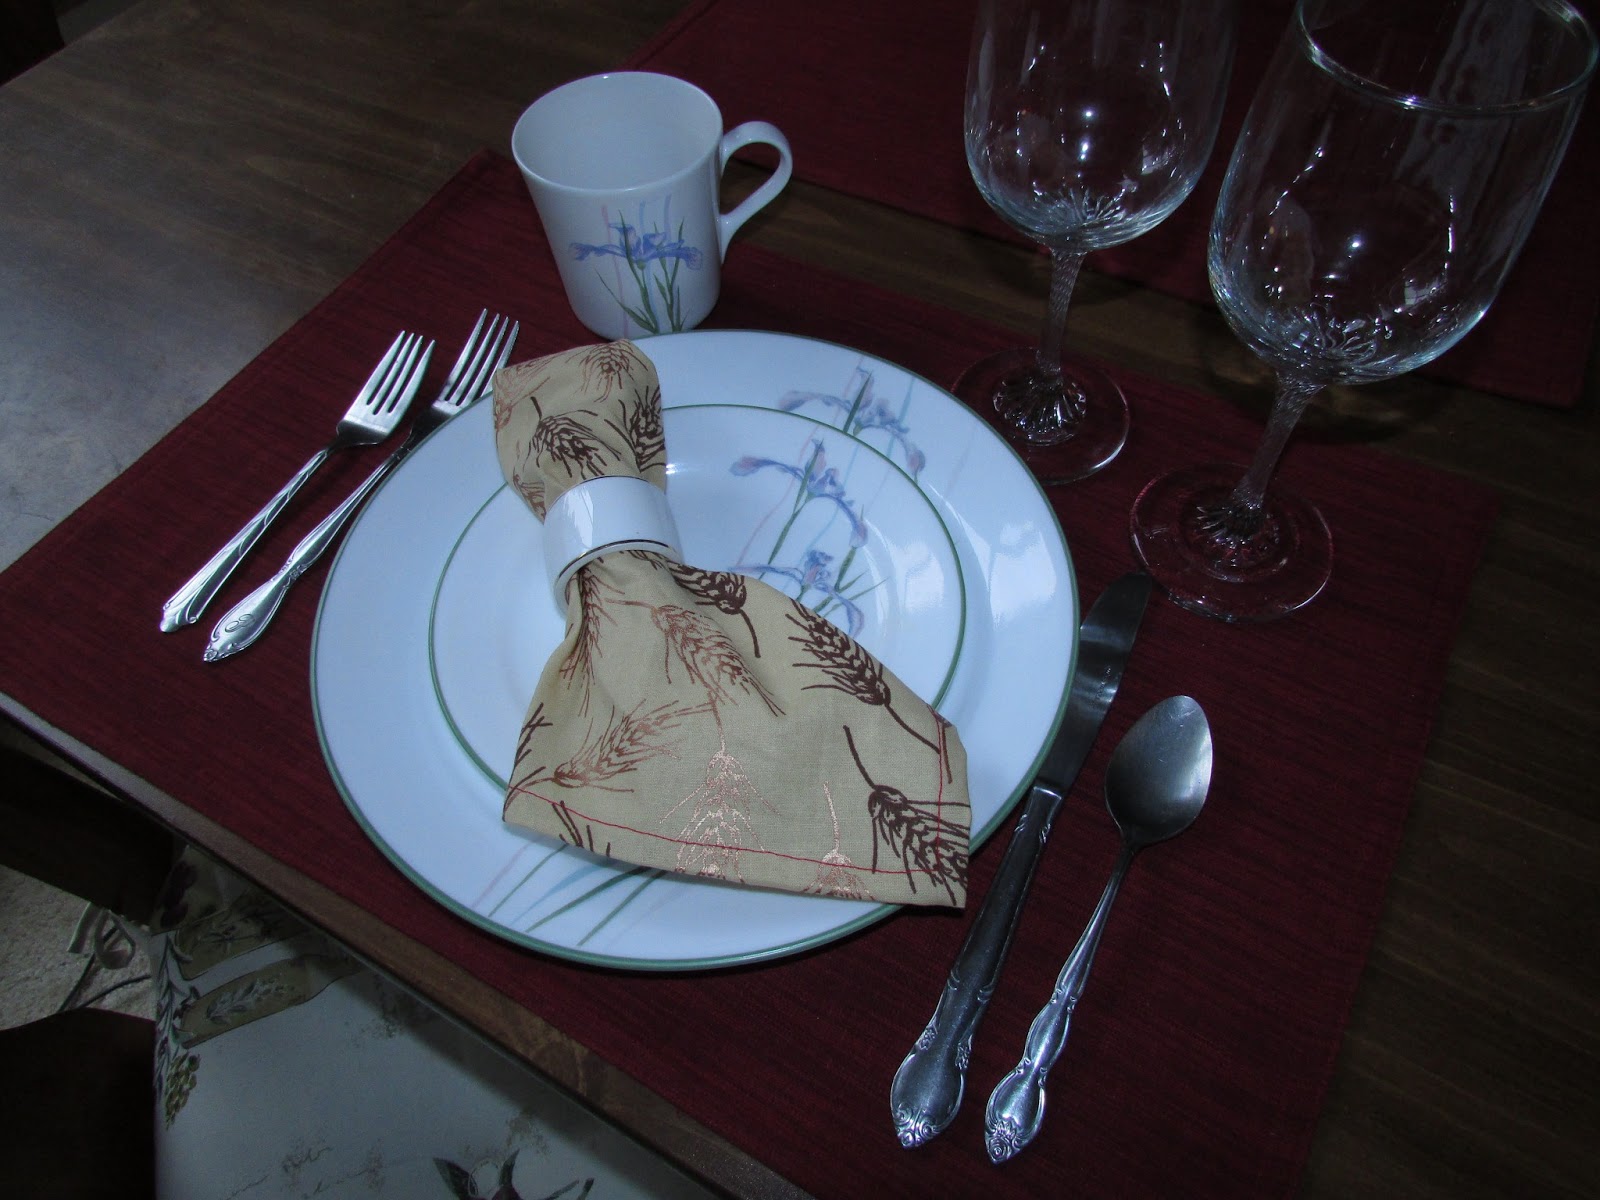
Ever wanted some new napkins to set an elegant table? Having an intimate dinner party? Trying to teach the kids to know how to behave at a dinner engagement? Then, new napkins might be just what you need.
I have several sets of napkins for different occasions. I love using them at Christmas gatherings, and just for fun, sometimes! But cloth napkins can be expensive, if you don't find them on sale; and finding the right color for your table setting can be challenging. Why not make your own!
I recently had an order for some special Anniversary napkins from a wholesale client. They are easy to make so I thought I would chronicle the process here for a tutorial.
Chose your favorite fabric; my client chose this wheat motif fabric. Cut your fabric squares accounting for and adding a half inch seam allowance on each side.
I used a rolled hem, folding over 1/4 inch (or less) and then another 1/4 inch again to sew the seam. Start in the middle of a side, not at a corner, since it will be easier to turn the corners that way. Some of you may have an attachment for this type of seam.
Stop sewing about two inches before getting to the corner; Keep the fabric rolled . . . .
then fold the corner in, at a right angle, approximately 1/2 inch fold over.
Next, fold the next side up 1/4 inch, holding the corner securely.
Last, fold over another 1/4 inch and you should end up with a mitered corner . . . . .
these are sometimes hard to master, but you will get proficient with repeated efforts. (I promise.)
Final step: press and fold. Here you see mine packaged for my client with a paper band around them.
And . . . . if you have a serger, you might want to just serge the edges with a fancy thread, it might be easier, and surely decorative! Or use your imagination with your machine's fancy stitches for your edging seam! Whatever you do, have fun being creative!