Showing posts with label sewing. Show all posts

Tuesday, July 23, 2013

Finger Press

Tip of the day!

Sew, you have forgotten to press your seams open and you've already got your project under the presser foot in the machine.


No problem, all you need is a finger press!  Or should I say, a good fingernail and a hard surface?

Open the seam with your finger . . . .


Use your fingernail against the hard surface of your machine or table and press hard down the seam --all the way down the seam--it will give a sound like a zipper if you did it right! (This is not just holding open the seam.)


Then sew on . . . .


And there you have it!  A finger press! :)


Friday, May 3, 2013

The Making of an Apron

Apron sales at my wholesale buyer's store (previous post) are still booming!  Currently I have a special order for some monkey fabric aprons for mom and child.  Should be a fun project!


Thought I would share a bit of the making of my aprons.  Since they are my own design and because I exclusively sell them wholesale at this time, I will not share the pattern.  At the end of this post, I will share a picture of my latest design for the celebration of the store's anniversary.

The buyer and I pick the fabrics together,  then the pocket material is sent out to be embroidered.  In the mean time, I sew up the aprons; here a mother and daughter set, without pockets.


When I get the pocket material back I finish the pocket, making sure that it is lined, protecting the embroidery.


Next after attachment of the pocket, I add the straps.  I usually use cotton webbing, so I apply fray check to all the cut edges.  Since they have to dry, they are secured with a pin on a thread spool for air drying.


 I add D-Rings:


A finished apron:


I add my custom tag designed exclusively for my buyer. (I also add my company iron-on tag on the inside of the apron.)


The ones you see here have gone to the shop and some are already sold!

Now, besides the afore mentioned special order, I am working on the aprons for their anniversary sale--a new design! If you have seen the previous post or know about Bob's Red Mill, you know that their brand color is red!  And since they sell grains, this fun design is what we have come up with for the anniversary!

Wheat grains and Red dots half apron

Sew . . . what have you been up to lately? 

Thursday, November 1, 2012

Yo Yo Tutorial

Well, for all you do-it-yourselfers, it's about time that I showed you how to make a yo yo from scratch! I know that there is a cute little tool you can buy to make them. (I bet you really don't want to part with your money for another tool that you will only use once?? :) Anyway, they are easy to make.

Use any square piece of fabric, preferably a cotton or cotton blend. Size should be from 3 1/2 inches to 5 inches square---your choice depending on the finished size you want.  (BTW, the "cute little tool" that you can buy only makes one size yo yo.)  Cut the square into a circle by using this little trick.  Fold the square in half diagonally making a triangle.    Cut off the corners using a curved motion.  Repeat for the other two corners.  Open and you should have a nice circle.  If not, adjust your cutting placement and you will get the hang of it soon.  Of course, if you have a die cut machine, you don't have to do this.  

When you have your circle, fold over a little hem measuring approximately 1/8 to 1/4 inch.


Using a heavy thread, begin sewing with a large gathering stitch (approx. 3/8 inch or so).  Make sure you have a large knot in the end of your thread.  You will need it to grab onto when you gather up the yo yo.
Note:  You  may want to click on the picture to make it large to see. My thread should really have been another color so you could see it better.  But, obviously, for the thread to not show in the finished product, it should match your fabric.   


Sew all the way around to right next to the beginning point, right next to the knot. 


Pull the knot out about an inch or two away from the fabric so you have two ends of thread.  Hold the knot and pull the other end of the thread to gather. Then use both ends to tie a secure knot close to the fabric.  You want to double tie it for security. 


After the knot is tied, clip the ends close to the fabric.  You may want to tug at the fabric all around by pinching it and pulling it into shape. This makes the gathers a little more even and there you have it--your own finished yo yo ready for crafting!!!

Monday, September 24, 2012

Broken Sewing Machine!

It's National Sewing Month and my sewing machine finally "bit the dust"! It had a good long life; I've had it since about 1979.  I gave away my sewing machine kitty (designated savings) to a family that was short on rent money, due to a lost job.  (They have since gotten back on their feet! Yay!)  I did a side job, but will not be paid for about 30-45 days.  So what does a textile artist do besides the mending?  Well. . . .

 There is more to sewing than a sewing machine. 

Sew up a pretty broach with scraps by pruittcreations

Get out the floss!  Embroidered Art Hoop by pruittcreations
Or grab your scissors and some fabric scraps and make yo yos!!!


Yo yo tree wall hanging that I am working on for Christmas


Embroidery accents sewn on

It's fun and creative! And it's what I am doing lately,
until I get a new machine :)  


Friday, September 7, 2012

National Sewing Month

Well, we are into it now by seven days! 
Welcome to September! 

Dress pattern by TenderfeetStitches


September is National Sewing Month, as originally proclaimed by president Ronald Regan in September 1982.  It was in conjunction with the American Home Sewing and Craft Assoc. and  said, in part, "in recognition of the importance of home sewing in our nation."  It also said, "Tens of millions of American sew at home.  Their efforts demonstrate the industry, the skill and the self-reliance which are so characteristic of this Nation."


Wallet pattern by chasingelephants
 
If you are interested in the history of National Sewing month you can visit NationalSewingMonth.org.  They have some free projects, a contest and the history of the month.  I will be writing about sewing in this blog all month.  In the meantime, enjoy the awesome sewing patterns for today's Friday Finds!


Bib patterns by preciouspatterns

Let's go Sew!

Wednesday, May 16, 2012

Mom, is that you?


This picture was originally posted by my friend Laurie, on one of her lovely blogs. She collects all kinds of odds and ends and makes beautiful things! I don't know where she got this picture, but the two gals on either side of the lamp stand look exactly like my mother and her sister!  The brunette looking like my mom, Jodine, and the blond like my aunt Wilma.  Both sew, and have all of their lives.  They are both in their eighties now.   My aunt Wilma, even altered an evening dress for herself the other day, because she wanted it short, not long for her granddaughters wedding!

Wouldn't it be a hoot to find out that this IS a picture of them!  Mom lives far away from me, so I am re-posting this for her to see on my brother's computer.  We will see what she says!  

Monday, April 9, 2012

Monday Sunshine

It's Monday and I'm up early on this beautiful day! It's sun shiny outside and that is a huge welcome change from the previous month of rain--the most we have ever had in a March month!  It's still a bit cool, but I don't care since the sunshine is warm.  I'm going out on the patio to enjoy!  Taking my coffee cup, of course!

I am also taking a quilt top that needs a little hand sewing to cover my lap and it will hang down over my legs as an extra covering from the cool air--just staying busy and warm!  


The outdoors affords me great sounds too!  I hear several birds, tweets and caws, along with the breeze in the trees.  Aw . . .  what a wonderful morning!

Hope your week turns out to be as nice as mine is starting out!

Monday, March 5, 2012

Sew Expo Perspective


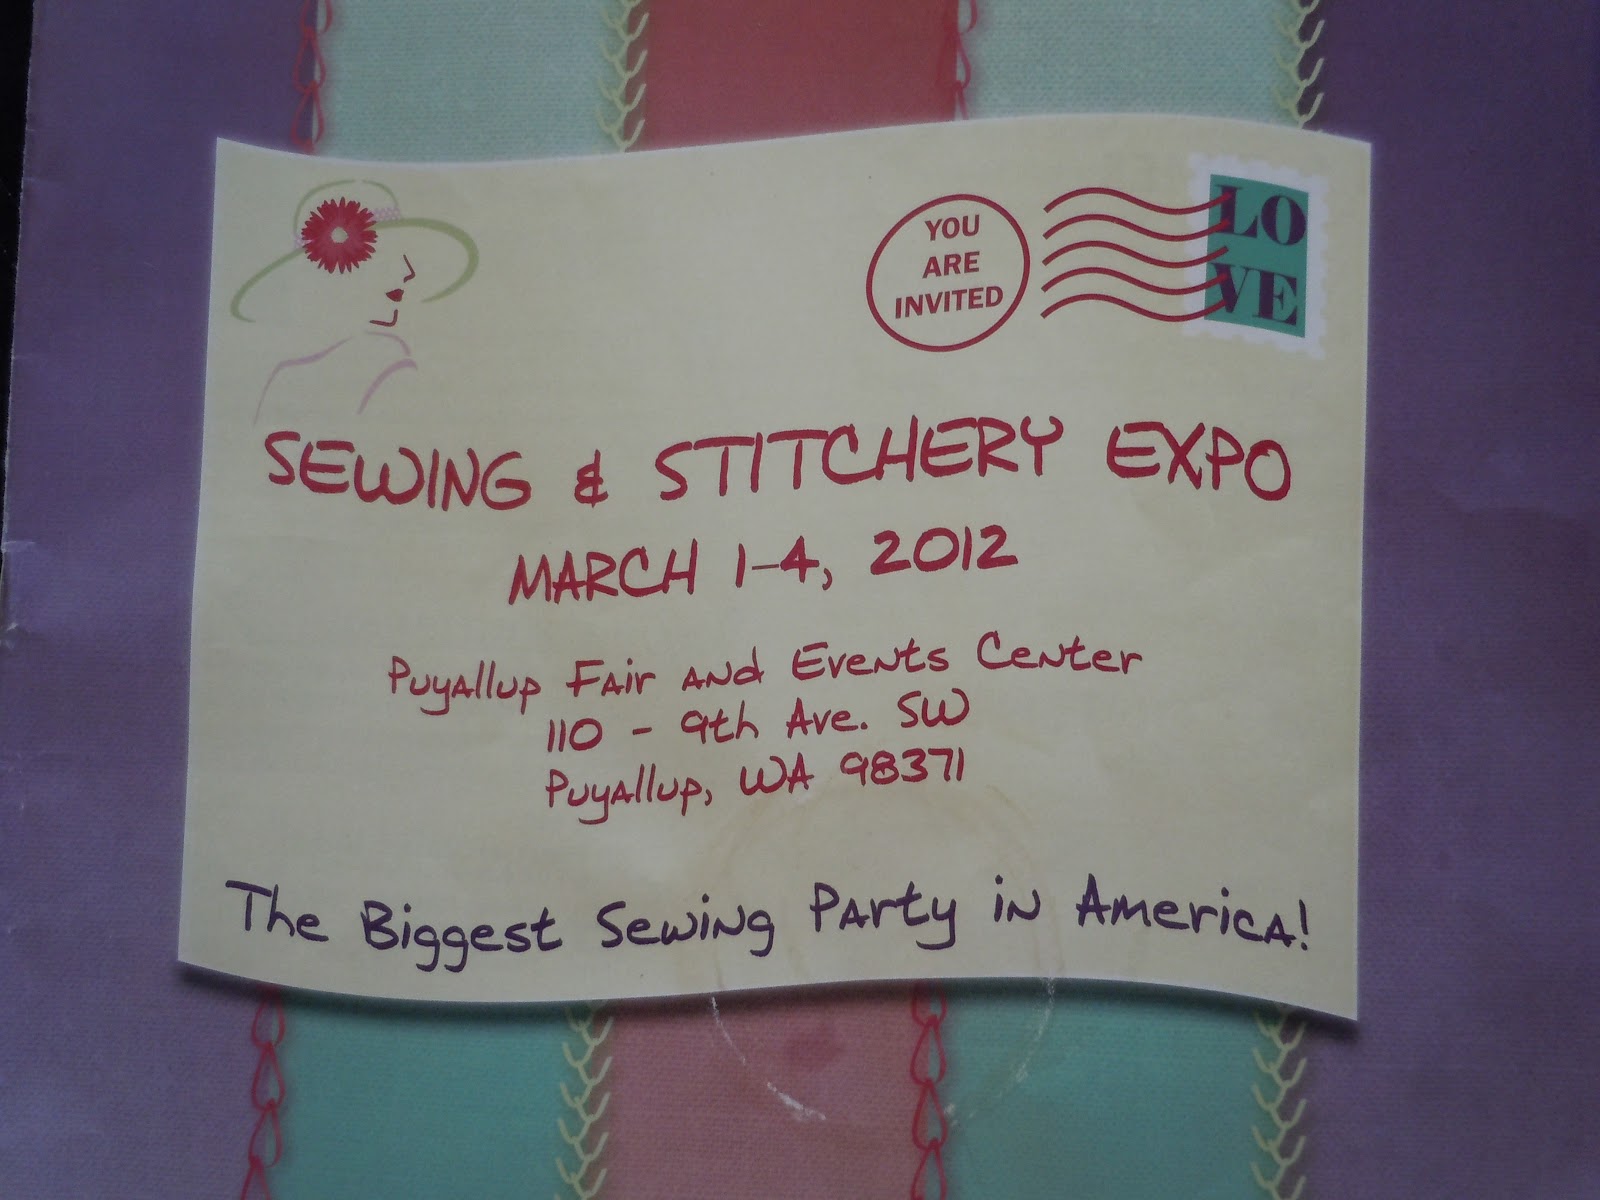
Well, I'm home from Seattle (the picture at the left is typical of Northwest weather days-overcast or raining!) and from attending the Sewing and Stitchery Expo at the Puyallup Fair and Events Center.  What an experience!  I ended up attending six of the seven classes that I signed up for--One I missed, just because of logistics.

I spent time browsing the booths of over 400 vendors of sewing or sewing related products--not unlike browsing on the computer, but my feet and my back got very tired walking the huge showplace at the fairgrounds! 


Picture from SewExpo blog


I watched demonstrations of various sewing machine models from several manufacturers, including Husqvarna, Brother, Janome, Juki, and Bernina.  This was what I had expected.

Note:  You can see more about the behind the scenes SewExpo activities on the SewExpo blog. (Picture at the right taken from the blog.)


And what didn't I expect?   I didn't expect to be overwhelmed!  It was as if I was on overload and just couldn't take anymore!  I expected to be inspired, not humbled by my lack of knowledge of the sewing field!  What was the cause of this?  It was due to the overall point of the Expo. Everything was geared to SHOPPING! Even the classes were done by vendors who let you know where their booth was and what they were selling.  I had expected to gather information about increasing my skills, not about using new products.  Case in point: a class about bags.  I expected to learn some new techniques for making better bags, but instead, it was nearly an hour infomercial about a particular product that you really must use when you make a bag!  Not entirely bad information, but not what I anticipated.

All the classes were like this.  How to use this particular stitching technique with your serger (some usable information there); ideas for dressings up thrift store clothing using your extra fancy embroidery machine--which I do not have!  I even won the door prize in this class for a free three month subscription to a pattern service for my "non-existent" expensive embroidery machine.  And were there inexpensive machines being demoed there?  Majority were all over the three thousand dollar mark!  I felt like a minnow in a whale tank!

Now don't get me wrong, I gleaned from the experience, but it was not a hefty meal.  I saw gorgeous quilts--every booth seemed to use beautiful quilts as their backdrops, whether they were a quilt shop or not. This was overload too, and we could not take any pictures!  I did snap a couple while I was having lunch.  I don't think that I violated anyone's private creativity! I did glean a handful of vendor possibilities that I may use in the future.  But in a sea of stitchery stuff, with representative quilt stores from all over America, I  am sure that I will not be shopping from their online options, unless they had something special.  It was all geared toward them feeding on me and the other attendees. I would have preferred to see booths from fabric manufactures with their new line of goods.  Then I could go home and ask my local shop to carry what I liked. 

My purchases?   I spent a whole $22, after it cost me $78 for entrance and class fees. As to going again next year?  I probably will not spend the money, unless one of my daughters or DIL's just really want to go.   So . . . . "Sew" . . . here's a final view that maybe someone can use for inspiration . . . the reflected lights on the floor are pretty!

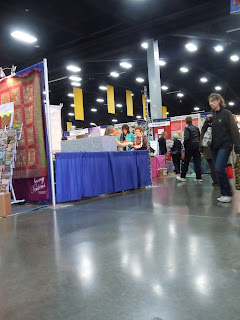
See quilt back drop in the upper left
P.S. There were two pretty good classes that I will report on tomorrow--stay tuned--you might glean something too!

P.S.S  Here's a blogpost about someone else--a vendor--who was overwhelmed!

Thursday, March 1, 2012

Sew Expo

Well, I'm off!  Not 'off my rocker', although out of my easy chair and off to the Seattle area for my very first SewExpo!    


As you can see by the picture, it is billed as

 "The Biggest Sewing Party in America!"

I've signed up for several classes, not to mention, all of the exhibits that I will see and enjoy!
I'll be looking at sewing machines, trying to decide which one would be right for the type of sewing that I do. I will visit the Brother, Pfaff, Husqvarna, Bernina and Janome exhibits.   I am sure that I will see lots of fabric exhibitors and quilt associations; also, quilt shops and trunk shows from all around!  

My classes,  just to name a few, are:
 "More Creativity: One Stitch at A Time" 

"Needles - Getting to the Point"

"Crazy for Bags"

"Serger Basics - Decorative Thread"

"New Tricks for Old Quilts"

I can't wait!
Then, there are the Sewing Stars that will be appearing and doing some workshops: 


When I get back, I will give you a recap and maybe share a few tricks and sewing secrets that I will be learning!  I can't wait . . . I can't wait . . .  I can't wait!!!!!!!!!!  If you can't wait to hear about it first hand, here is a blog site that is keeping up with all the doins'.   Also, info about the expo is here!

Tuesday, February 22, 2011

Yesteryear - Applique Stitches

The quilt above is patchwork ( the star pattern ) and appliqued (the curved vine and flowers.)

In the past, applique was quite popular and done beautifully by hand.   Several stitches were used and it was thought that stitches should show as little as possible--for obvious reasons.  Some quilters used an 'invisible' stitch.  Most of the thread, provided it is a matching color, is hidden in the fold of the fabric.

Start the first stitch with a knotted single thread into the fold from the wrong side of the fabric.  It then comes out thru the fold.   For the second stitch, insert the needle into the fold right near the spot where the first stitch ends, then come back out in the fold about a 1/4" ahead while taking a short stitch into the backing fabric. Repeat.  Practice makes perfect!  This stitch was very popular in many old quilts. 

I feel that hand work is very relaxing.  Try it sometime!

Tuesday, September 7, 2010

Yesteryear---French Seams and Christening


Seems as though some things about vintage culture have been lost. We are recovering some of the culture, especially the clothing, thru a keen desire of younger people to reclaim the styles and actual clothing of yesteryear. You commonly see people wearing the old clothes, and buying the old styles at thrift stores etc.


One type of vintage clothing, I fear, is a lost art. What type, you say? How about the christening gown worn by infants at the religious ceremony to be christened or baptised. They were long gowns, usually white, for either boys or girls, made for, or purchased especially for the ceremony. These were cherished for years by the entire family, and sometimes handed down from generation to generation. My husband still has his, which was bought for him by his fraternal grandmother. I fear that this tradition has been lost, because religion is cast away so easily in today's generation. Regardless of the transitions, these gowns were a work of art with all their tucked yoke sections, french seams,chambray or voile fabrics, eyelet or lace edgings, and embroidery work and ribbon.

My husband's gown, which was used by one of his daughters, is of a somewhat transparent fabric and so has a charming lightly embroidered slip made of the matching fabric. I would show it to you but my camera is still broken. I have to use the pictures that I have in my file. (For those who are interested, the following is a general tutorial of how to make a simple christening gown.)

The pattern is relatively easy with a yoke front and back pieces and a skirt front and back rectangular section. Small tucks are sewn first before the yoke is cut out. Then after cutting, the yoke pieces are sewn together at the shoulder. Edges are finished with a whip stitch and a pretty edging (lace, etc.) The tucks in the skirt are also sewn first. Embellishes of ribbon, lace, or eyelet are added after the side and back seams are sewn. Ribbon can be threaded thru the eyelet. Bottom seam is finished with desired trim. Gather the skirt section and attach to the yoke. Finish the back opening and the arm holes with a 1/4 seam, hand whipped. To finish you can add several crocheted chain loops for button holes and attach some pretty tiny round pearl buttons. Also, you can add a pastel ribbon bow to the front yoke seam for a sweet finish.

Wednesday, May 19, 2010

Hi There . . .

Haven't blogged in a while, actually two weeks! Wow! How time flies. I've been sewing a lot, babysitting my grand kids, traveling to Seattle and, of course, working.


Today I wanted to share with you one of my prized positions for my crafting. It's a little bag that my grandson, Paddy, made for me. He made it from paper, tape and twine. (It actually has some illustrated instructions drawn on the front in pencil! Cute! --Hope you can see it out from the picture.) It's a neat little paper wastebasket, that I use when I am sewing. Each time I snip a thread, it is right at my finger tips waiting for the discards! Now more threads all over the carpet and me!
I hung it on the wall right behind my sewing machine! Or if I am working on a larger project that needs more space, I move it to the chest of drawers right next to my sewing desk; it's still handy there . . .


And since I have been sewing a lot, I wanted to show off my latest creation from my line of novelty pillows. This is my Chicory Blue Deco Pillow. I just love the color of wild chicory when it blooms at the side of the road, so I thought I would create a pillow in honor of the under appreciated little flowers!
Actually creating a few more in this line, a pansy pillow and an lovely Echinacea flower pillow. Watch for them in my shop!


Wednesday, March 31, 2010

Favorite Pin Cushion!

I have been participating in an Etsybloggers Street Team Journal Swap (More about this in a future post next week). My swap mate has two etsy shops and I found this cute little item in her IndulgeYourShelf shop.

I love this little rocking chair pincushion that comes complete with a small drawer beneath the cushions. This one is "upholstered" with a really fun cordouroy floral fabric in purples, blues and green. It has a spot for the scissors, (You'll have click on the picture here to go to her shop and see the pictures!), thread, and three little holes that might have held dowels for more thread at one time. It is about 8.5" tall, 8.5" wide, and 7" deep. It is so clever a design! And Vintage too! Don't you think so?

Tuesday, February 23, 2010

Discouragement . . . .

I've not written in some time now, I guess I had a little disappointment in life. It kills creativity! I am feeling better now and need to get back into things that are my life. There are sewing projects to do, jewelry items that are begging to be finished, and, of course, there are those TAXES to be done! It's that time of year.


Here's what I will be working on today:


Necklace to be finished, and earrings to be made, since the supplies arrived in the mail.
And then, there is this very interesting project. My daughter-in-law, Beth, was given some quilting supplies and unfinished work that belonged to her great aunt. Beth gave me this project to try to finish if I wanted. It intrigued me, so I will try. It is so different to try to do something that someone else had the inspiration for. Looks like a lake scene. It is currently partially sewn and pinned together. We'll see what I can do with it!?!

Of course, we will return to Abby's story very soon, watch for it!
(If you are new or have not kept up, you can start with the Jan 4th post.)